FREJA - Scillonian Pilot Cutter
|
Introduction
 Luke Powell Luke PowellMarion and I searched a long time for a new vessel for our future sailing adventures. By and by we learned about shipwright Luke Powell through magazines and internet. His yard was located in the old port of Gweek at the top of Helford River in Cornwall. The pictures of his gaff rigged replica pilot cutters spoke of seaworthiness and comfort. We decided to sail on the first one he built, Eve. Then in Scotland on another one, Lizzie May. Finally we sailed with Luke and his lovely wife Joanna on Agnes, their own vessel, during the Pilot Cutter Championship 2010 in Cornwall. By then we were convinced that Luke could build us a lovely vessel for our future voyages. We shook hands and signed a contract with him. The build started Sept 2010 and was completed April 2012. During the build Marion and I worked and lived in New Zealand. We followed the build through all pictures Luke sent us. The pictures below illustrate how the build proceeded over these 18 months. The wood used for Freja is opepe for the keel, stems, deck, and superstructures, oak for the frames and upper planking, and larch for the lower planking. She is fastened with bronze screws and copper rivets. She measures 42’ x 12’2” x 7’ (12.8m x 3.7m x 2.1m). On the following pages you can see how Freja’s beautiful lines slowly evolve. Stephen Morris made a great video with Luke on the history of the Scillonian pilot cutters and his build of these replicas in Gweek. Source: Working Sail by Stephen Morris. Hull 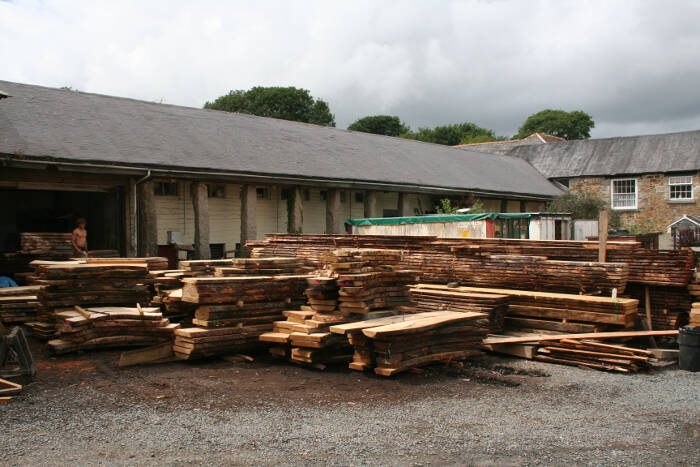 The wood arrived and Luke sorted it all and stacked it properly. The wood arrived and Luke sorted it all and stacked it properly.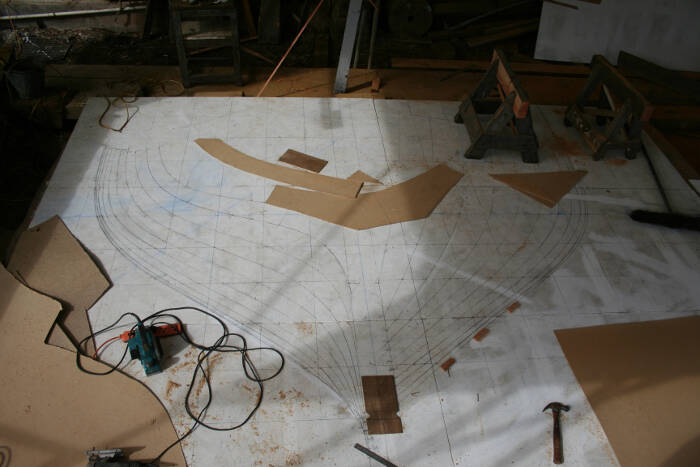 All measurements were taken from the loft drawing, which was in scale 1:1. All measurements were taken from the loft drawing, which was in scale 1:1.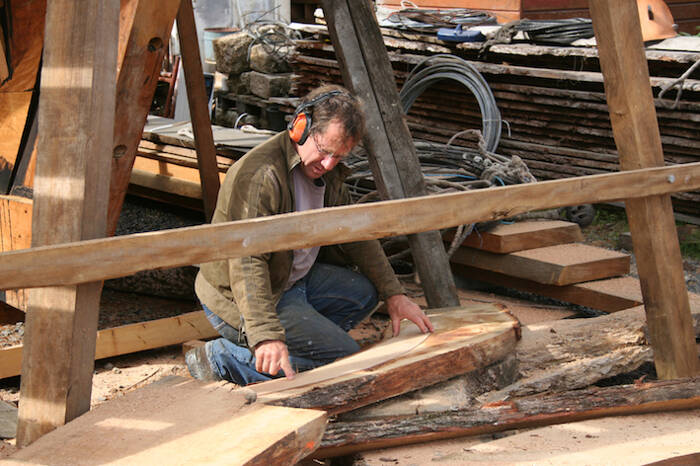 Luke is using a template from the loft drawing to mark how to cut the wood. Luke is using a template from the loft drawing to mark how to cut the wood. The chain saw is a crude but useful tool when cutting the natural grown oak into shape. The chain saw is a crude but useful tool when cutting the natural grown oak into shape.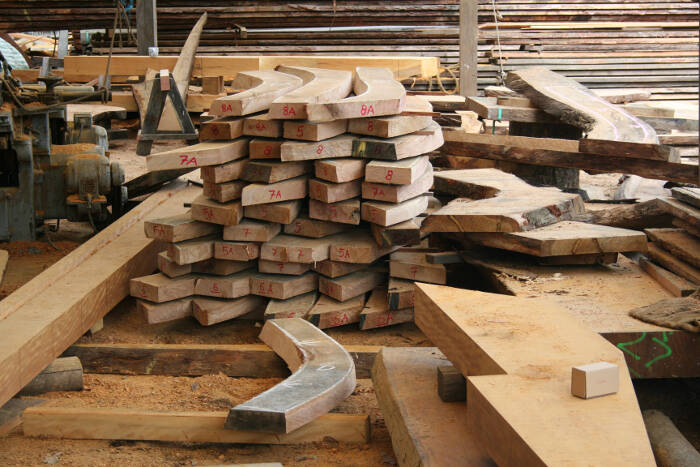 The material for the frames are all marked and stacked. The material for the frames are all marked and stacked.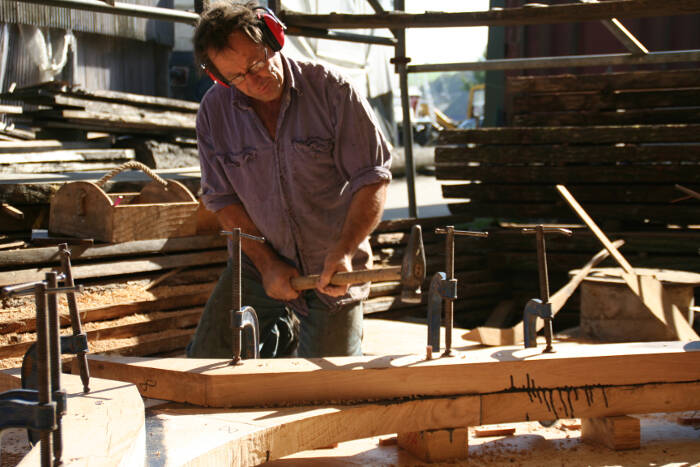 Luke is hammering in copper rods into the double frames. Luke is hammering in copper rods into the double frames.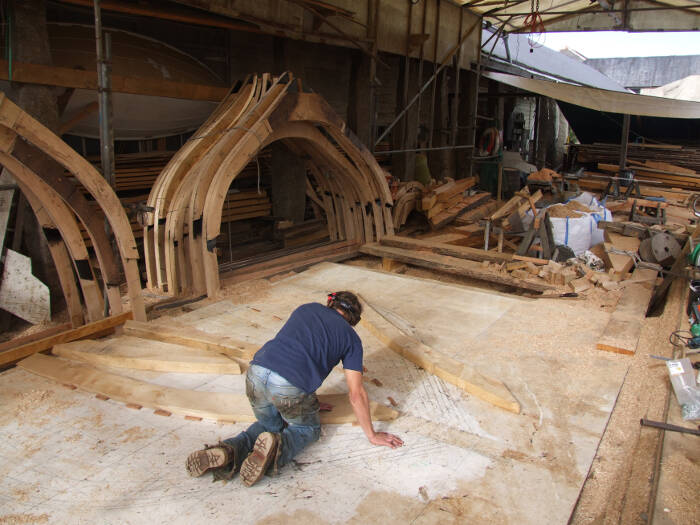 The sawn frames are checked against the loft drawing. The sawn frames are checked against the loft drawing.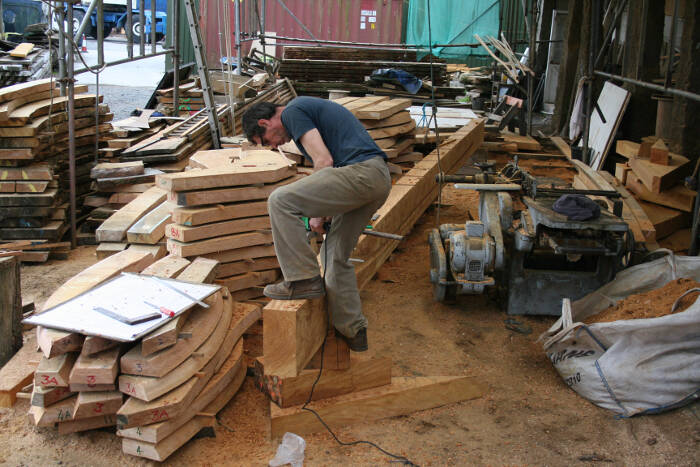 The keel is laid out and the rabbet where the garboards will fit are already cut. The keel is laid out and the rabbet where the garboards will fit are already cut.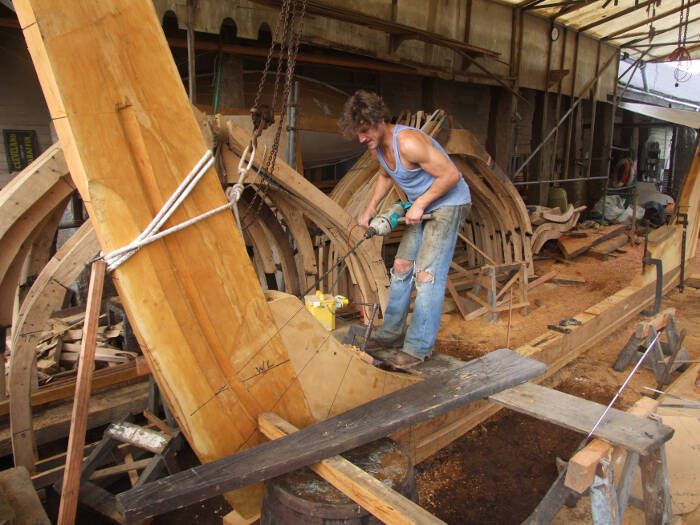 James is drilling a hole for the copper rods holding the massive knee joining the keel
and the forward stem. James is drilling a hole for the copper rods holding the massive knee joining the keel
and the forward stem.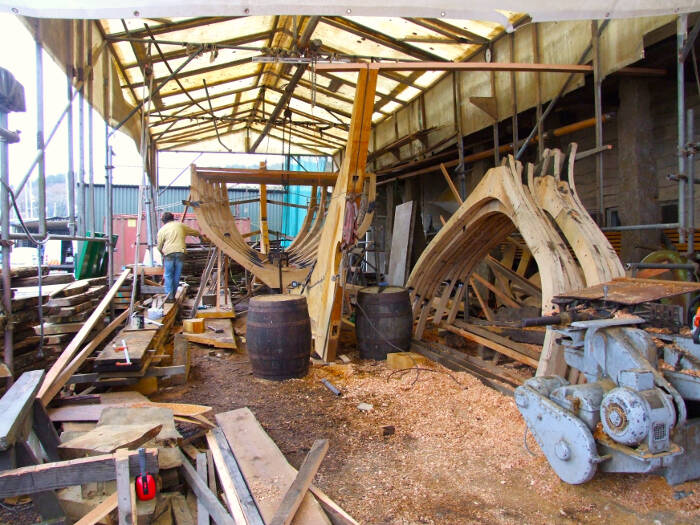 Framing Framing All the frames are in place, creating a beautiful pattern in the afternoon sun. All the frames are in place, creating a beautiful pattern in the afternoon sun.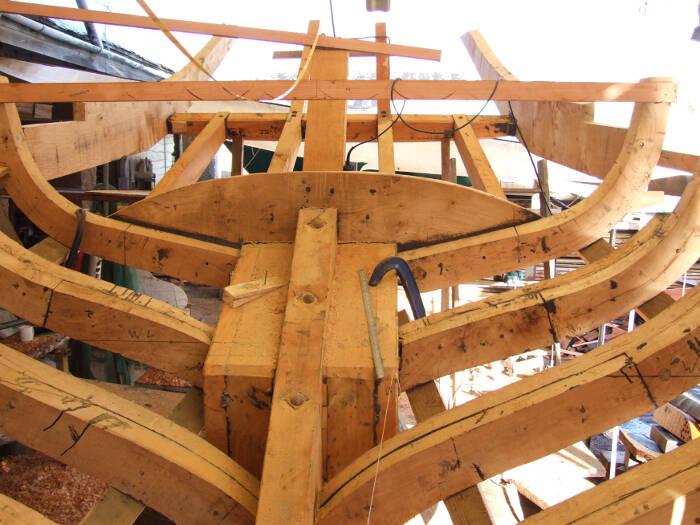 The intricate and strong wooden pattern forming the countern stern. The intricate and strong wooden pattern forming the countern stern.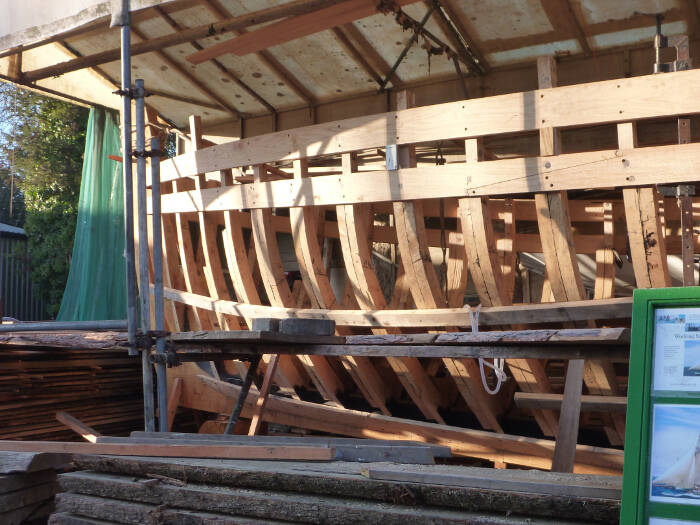 Planking has begun. Planking has begun. Steam helps forcing the planks in place. Steam helps forcing the planks in place. James is measuring the next plank, alternating between the port and starboard side. James is measuring the next plank, alternating between the port and starboard side.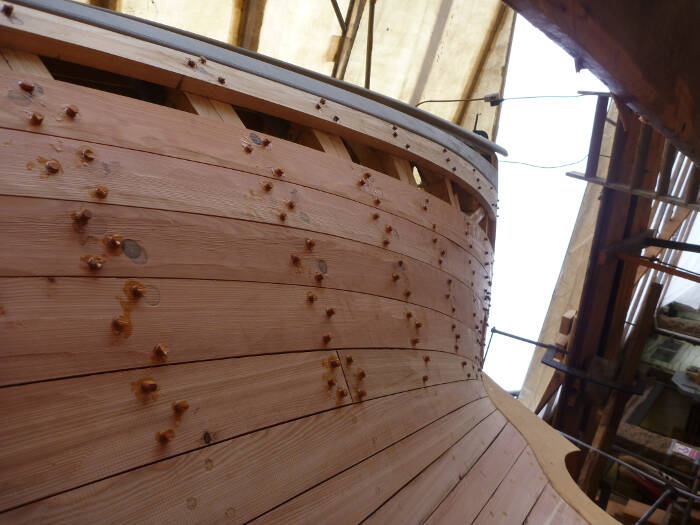 The planks are hold in place by hundreds and hundreds of bronze screws covered by
dowels glued in place. The planks are hold in place by hundreds and hundreds of bronze screws covered by
dowels glued in place.Deck and Superstructures  Forward you see the deckbeams, knees and bitts for the bowsprit and barrel windlass. Forward you see the deckbeams, knees and bitts for the bowsprit and barrel windlass.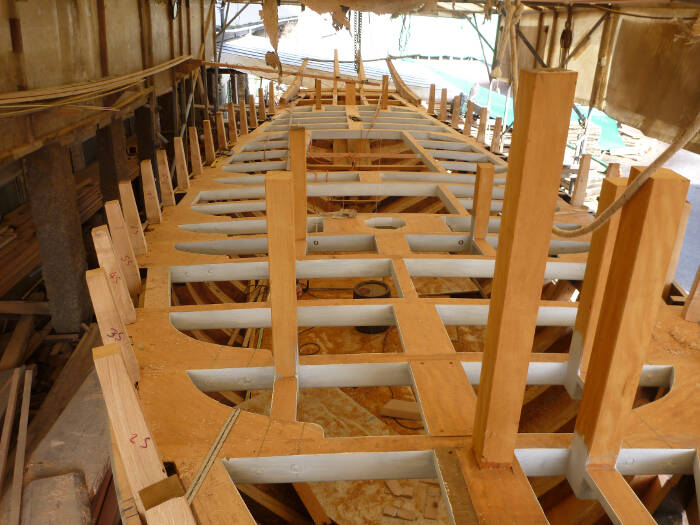 From forward you see deckbeams with primer and the stantions for the bulwarks. From forward you see deckbeams with primer and the stantions for the bulwarks. Bulwarks with capping rail in place. Bulwarks with capping rail in place.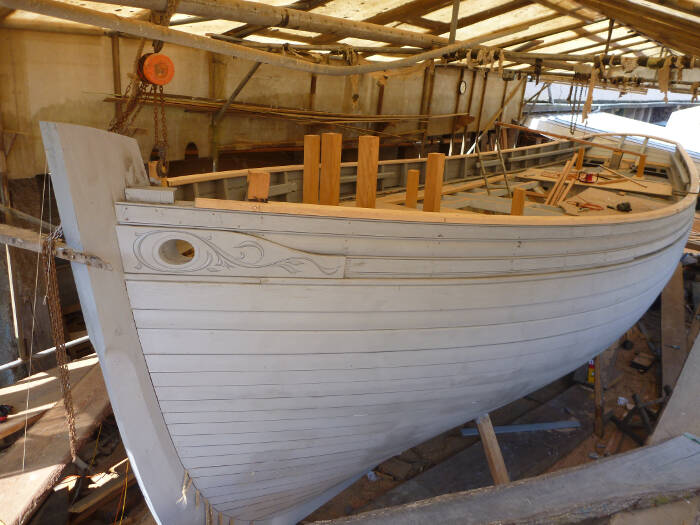 The hull is painted with primer. Note the carving around the hawse pipe. The hull is painted with primer. Note the carving around the hawse pipe.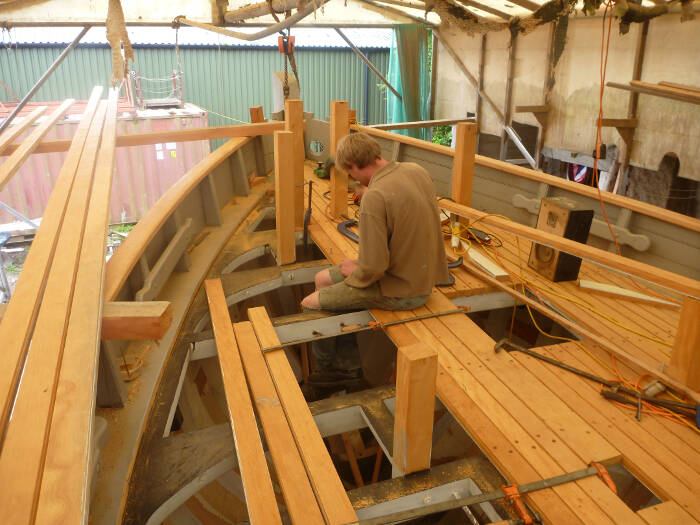 James is fastening the thick deckplanks with bronze screws. James is fastening the thick deckplanks with bronze screws.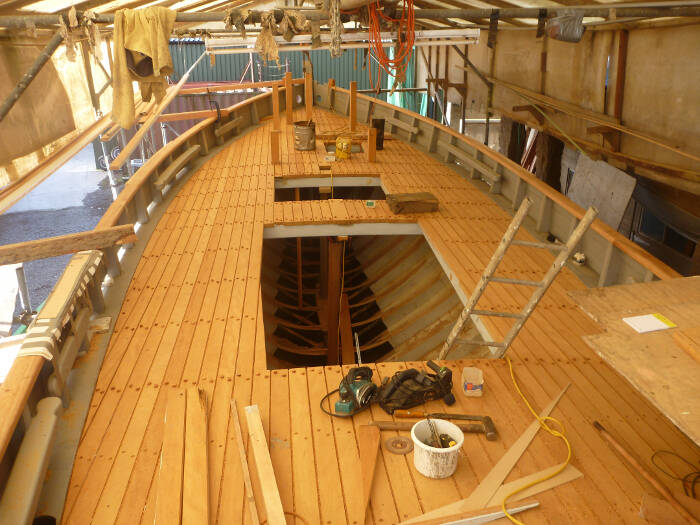 You look from aft, the deck planks are long enough so no butt joints are needed. You look from aft, the deck planks are long enough so no butt joints are needed.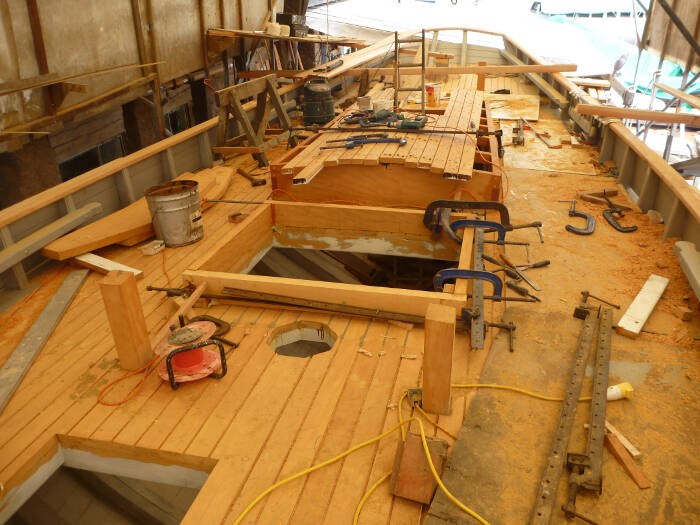 The superstructures are made. The superstructures are made.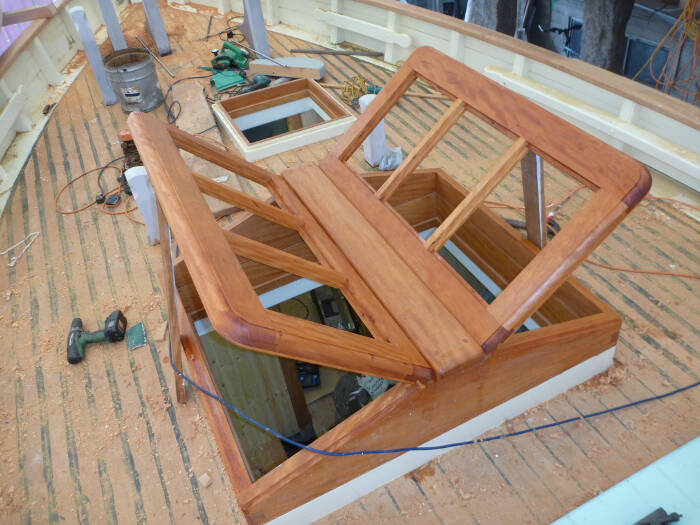 Skylight and forehatch, which is to starboard to allow us to open it even when the bowsprit is pulled in. The deck is caulked with modern pitch. Will it leak? Skylight and forehatch, which is to starboard to allow us to open it even when the bowsprit is pulled in. The deck is caulked with modern pitch. Will it leak?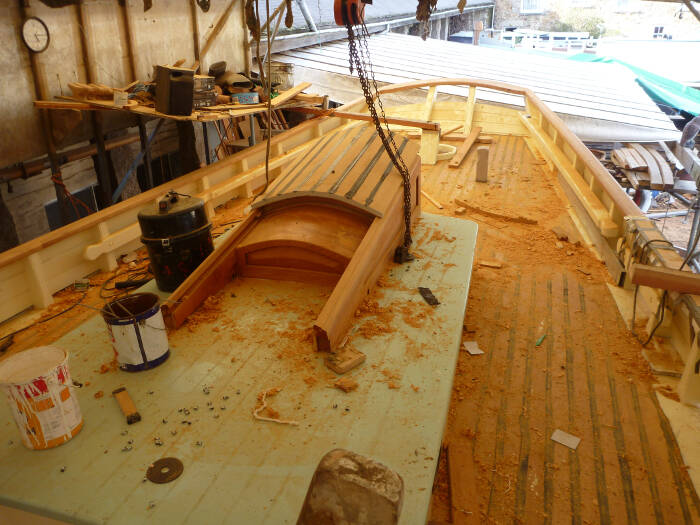 The cabintop with the sliding hatch. The cabintop with the sliding hatch.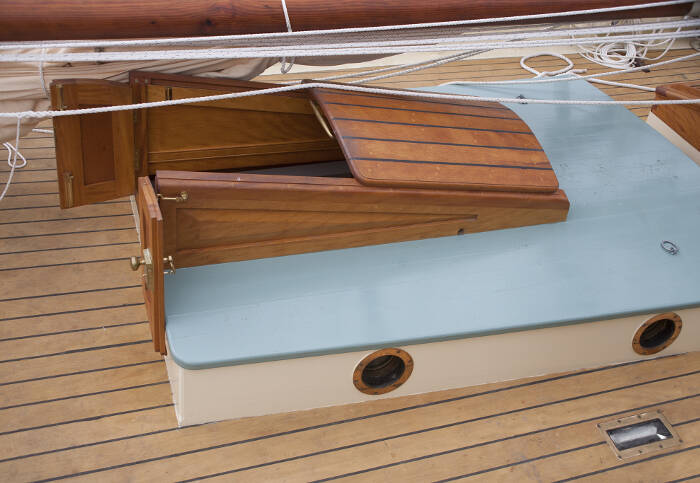 The finished cabintop. The deck prism gives plenty of light to the chart table. The finished cabintop. The deck prism gives plenty of light to the chart table.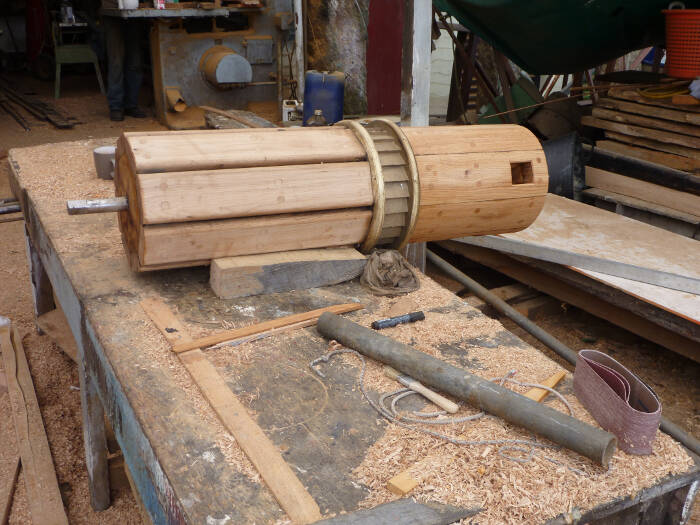 The barrel wind lass with its bronze teeth. The barrel wind lass with its bronze teeth.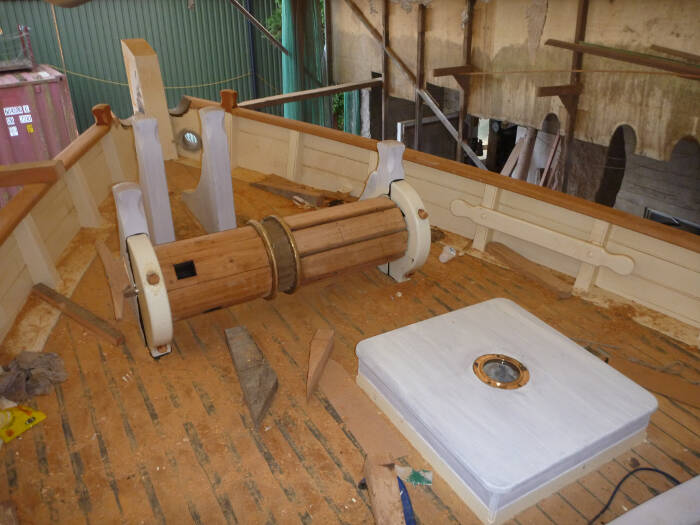 The windlass fitted in place on the fore deck. The windlass fitted in place on the fore deck. The fore deck finished. The two deck prism will give light to the double bunk to port and over the work bench to starboard. The fore deck finished. The two deck prism will give light to the double bunk to port and over the work bench to starboard.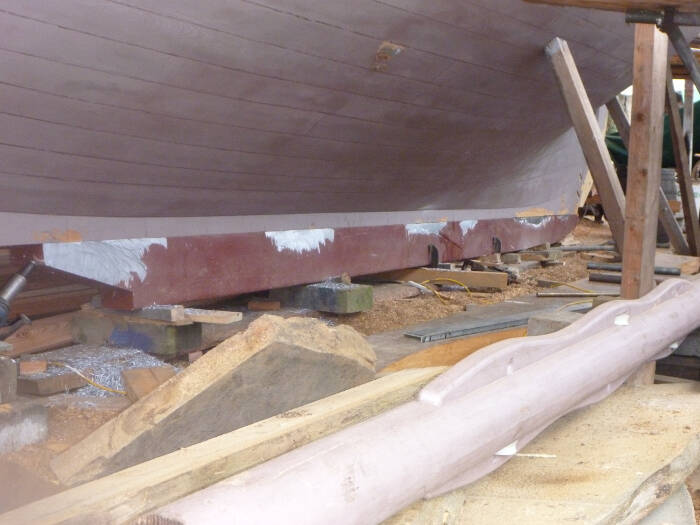 The hull was lifted and Luke spent many strenous winter days to drill holes through the keel and through the floors for the many bronze bolts. The hull was lifted and Luke spent many strenous winter days to drill holes through the keel and through the floors for the many bronze bolts.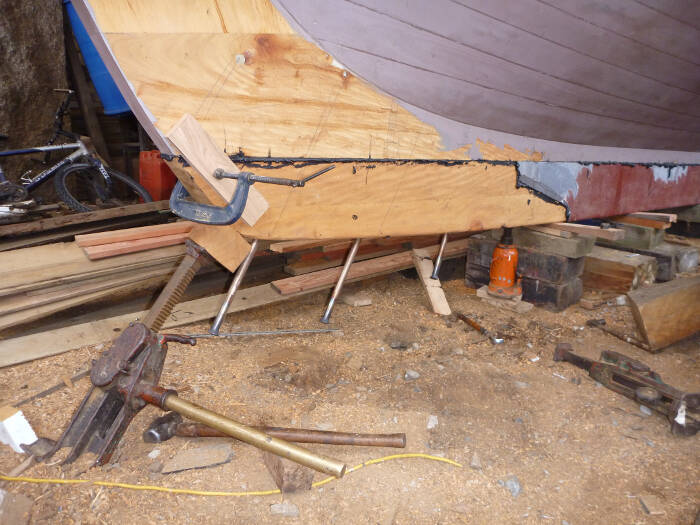 Deadwood fitted. Deadwood fitted.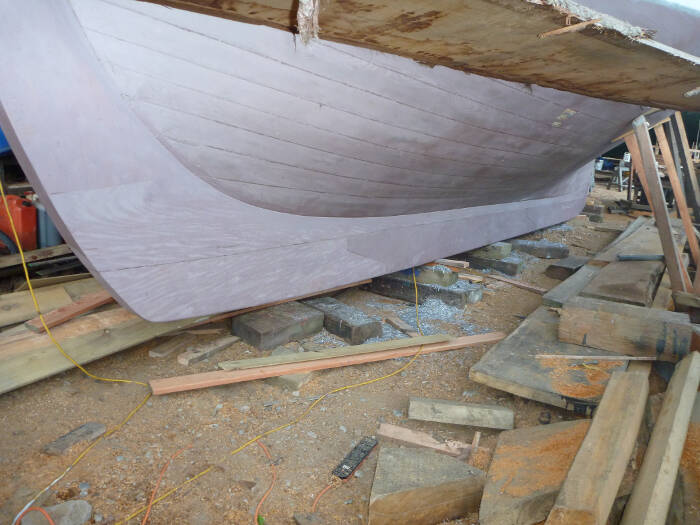 The under water body painted with primer. The under water body painted with primer.Interior and Rigg In June 2011, almost a year after the start of the build, Marion and I travelled from New Zealand to Luke’s yard to inspect our future vessel. The hull was completed, the deck laid, and the floor boards were in place. We spent a week building dummy interiors, using battens and chalk marks. When we were satisfield, all measures in inches and feet were put on paper together with drawings. We realised we could not all we wanted but we felt happy with our traditional design. And now, after several long seasons, we don’t want to change anything.  This is what we found below when we arrived, eager put our ideas on to paper. There is not a straight line anywhere! This is what we found below when we arrived, eager put our ideas on to paper. There is not a straight line anywhere!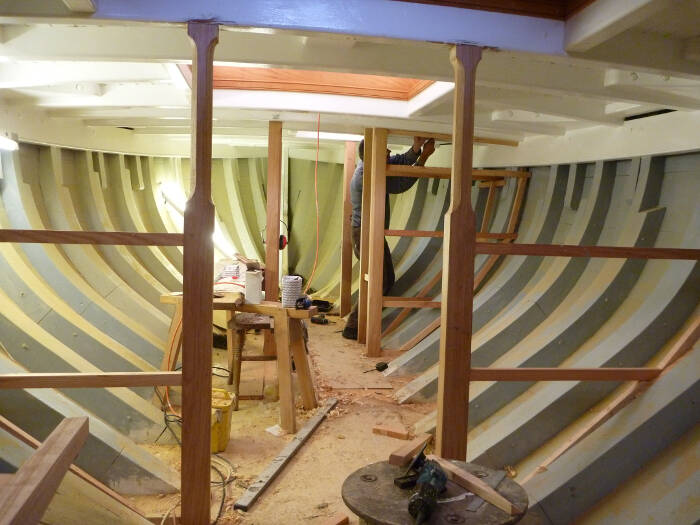 Frames for bulk heads and doors. Frames for bulk heads and doors.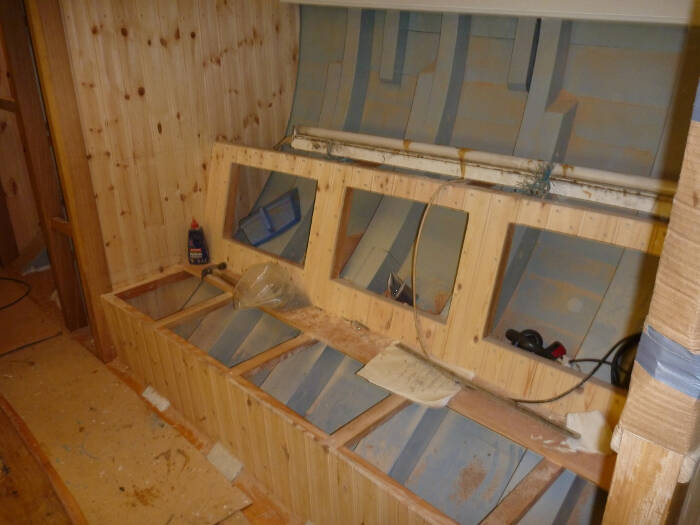 Starboard settee in the saloon. Starboard settee in the saloon. Port settee in the saloon with pilot berth above. Port settee in the saloon with pilot berth above.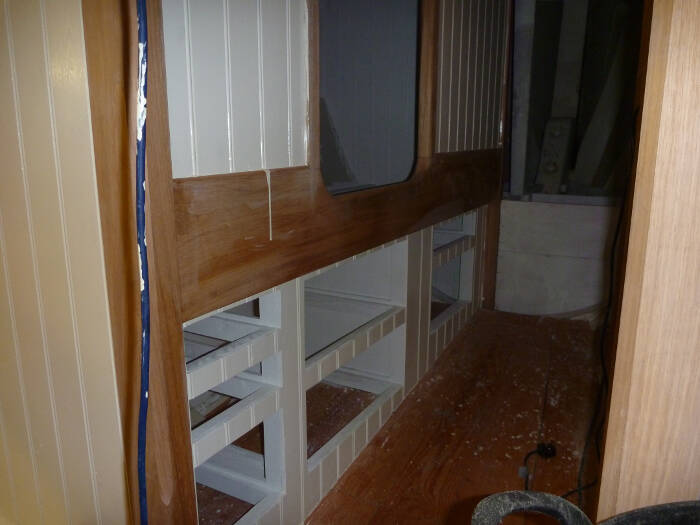 Double berth to port forward of the saloon. Space for drawers underneath. The fore peak holds the chain locker, ropes, spare sails, and the head with a wash basin with a fresh water foot pump. Double berth to port forward of the saloon. Space for drawers underneath. The fore peak holds the chain locker, ropes, spare sails, and the head with a wash basin with a fresh water foot pump. Chart table on the starboard side opposite the galley. Wet locker aft. Chart table on the starboard side opposite the galley. Wet locker aft. Galley to port with plenty of locker space. Galley to port with plenty of locker space.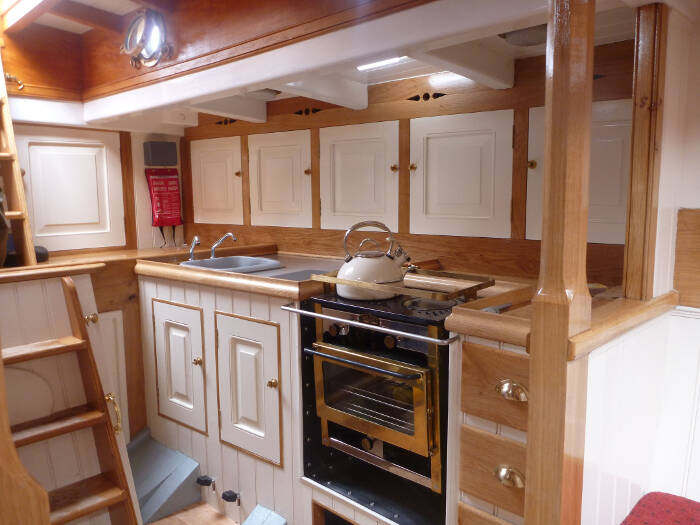 Galley finished with a kerosene stove, foot pumps for fresh and salt water. The four port holes can be opened. Galley finished with a kerosene stove, foot pumps for fresh and salt water. The four port holes can be opened.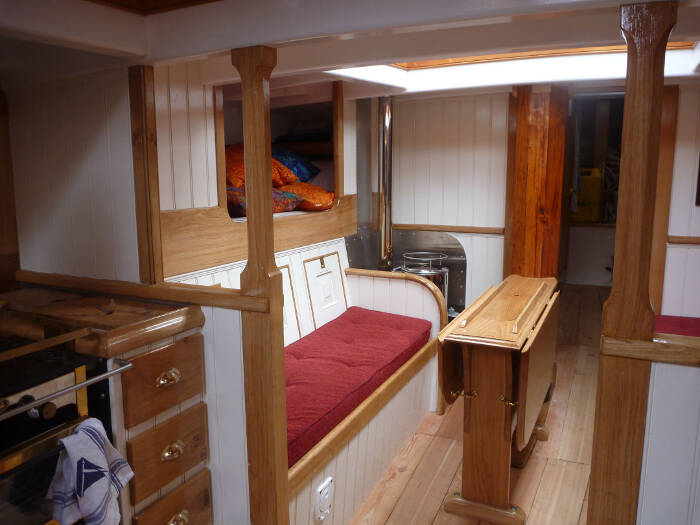 Port settee with the Relex diesel stove forward supplying hot water for two radiators. This is a reliable stove that can be found in most fishing vessel in the nordic countries. Port settee with the Relex diesel stove forward supplying hot water for two radiators. This is a reliable stove that can be found in most fishing vessel in the nordic countries.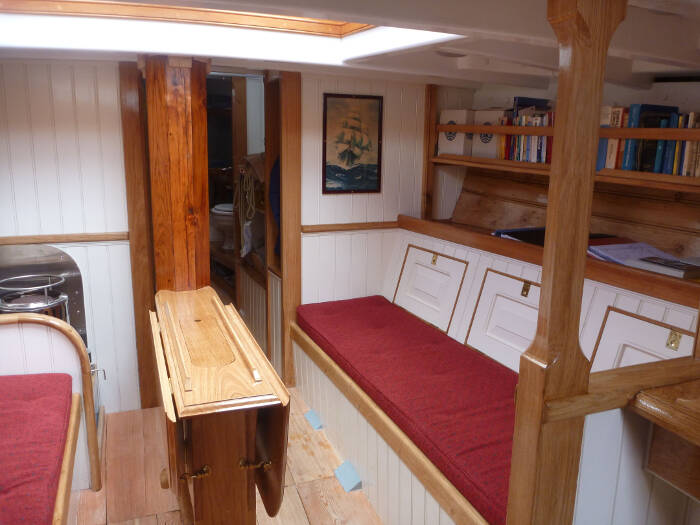 The saloon gets plenty of light from the large skylight. The painting of the full rigged ship came from my grandfather who went to sea as an able seamen during WWI and afterwards. The saloon gets plenty of light from the large skylight. The painting of the full rigged ship came from my grandfather who went to sea as an able seamen during WWI and afterwards. The full sized chart table with drawers for 200+ Admiralty charts. We have a simple Garmin GPS, a VHF, a radio receiver for short and long waves, and an echo sounder. We use the black board frequently to remember tides and other important matters. The full sized chart table with drawers for 200+ Admiralty charts. We have a simple Garmin GPS, a VHF, a radio receiver for short and long waves, and an echo sounder. We use the black board frequently to remember tides and other important matters.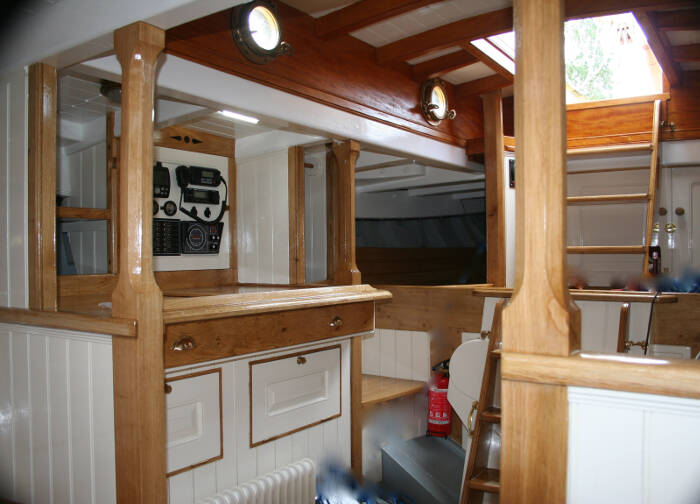 Looking starbord aft at the large quarter berth and wet locker. On the port side is a very large stowage where paint, fenders, a spare fuel can, and fishing gear are kept. Looking starbord aft at the large quarter berth and wet locker. On the port side is a very large stowage where paint, fenders, a spare fuel can, and fishing gear are kept.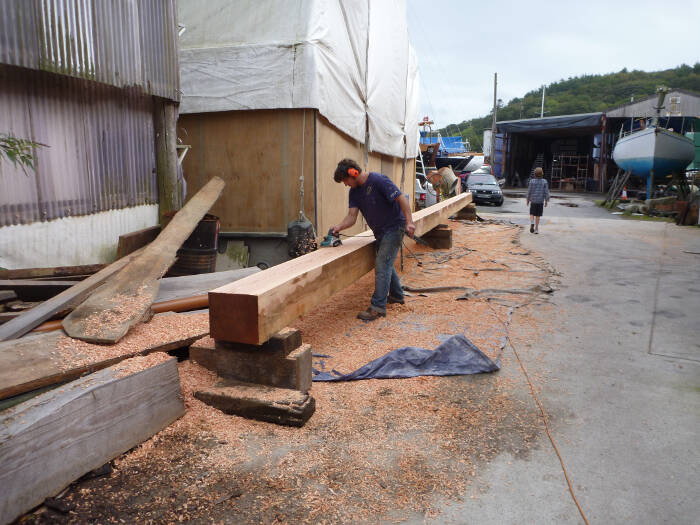 This is going to be the lower mast when finished. This is going to be the lower mast when finished.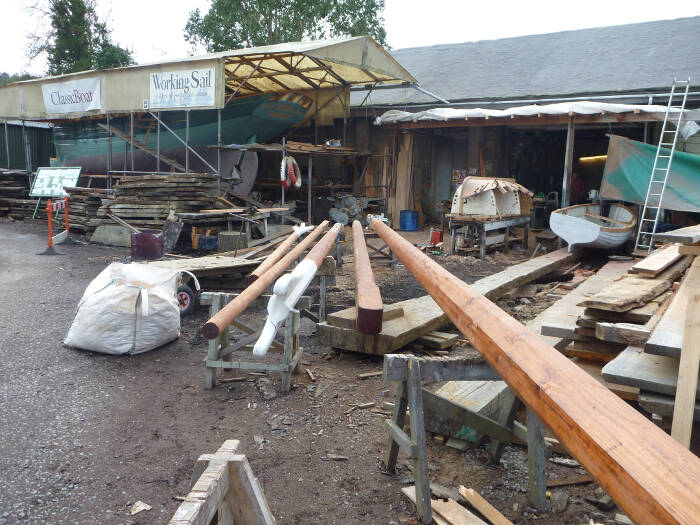 All spars oiled and painted. All spars oiled and painted.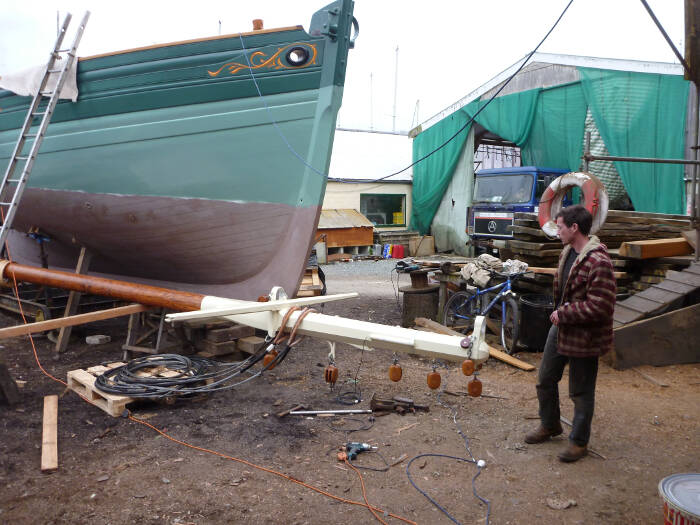 Jonny our rigger dressing the lower mast. Jonny our rigger dressing the lower mast.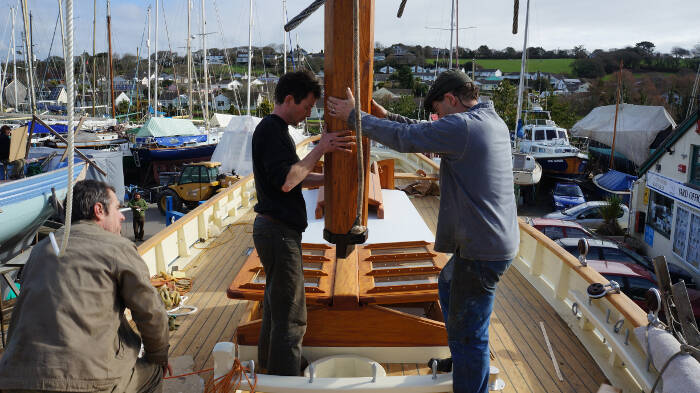 Jonny and Luke is lowering the mast into place while Danny is having a rest. Jonny and Luke is lowering the mast into place while Danny is having a rest.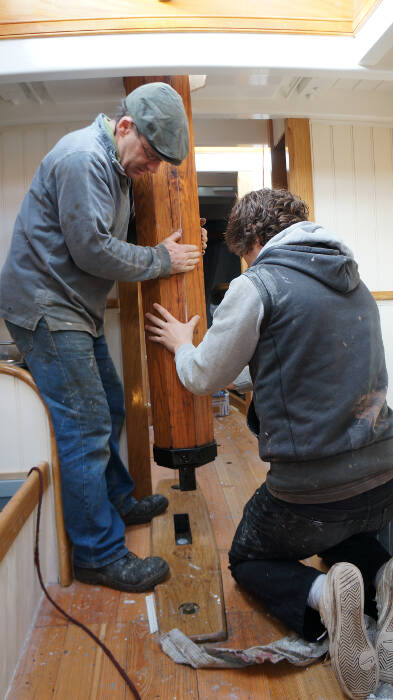 The mast is fitted. Note the silver coin which will keep us safe! The mast is fitted. Note the silver coin which will keep us safe!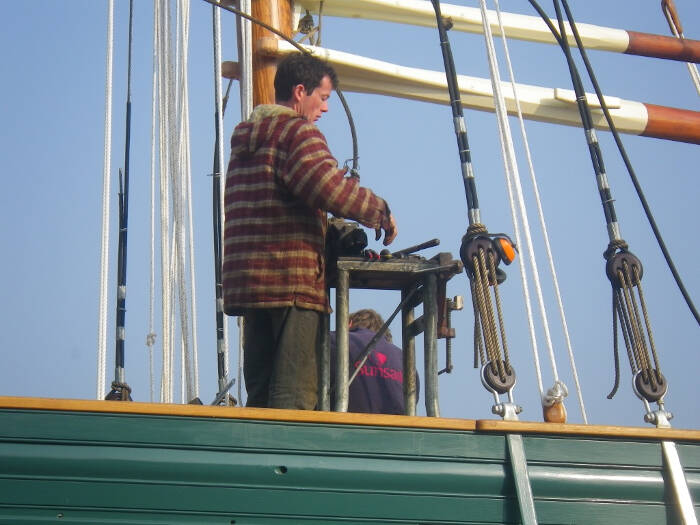 Jonny splicing wire. Jonny splicing wire.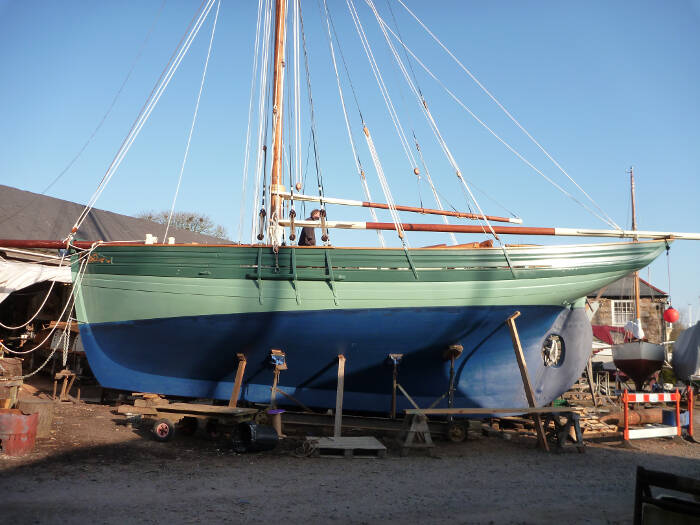 Our new vessel is rigged! Our new vessel is rigged! |